Want to take your embroidery skills to the next level while adding a dash of fun to your kitchen?

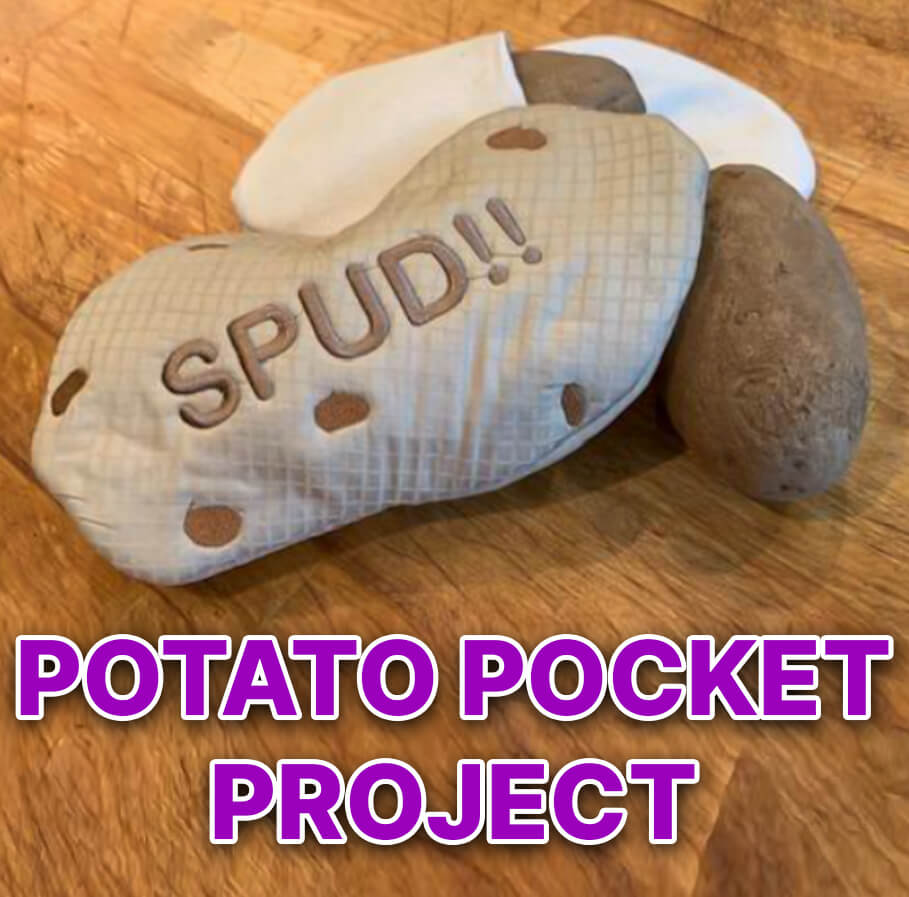
Create this in-the-hoop potato pocket project (try saying that 10x fast) where creativity meets practicality! Whether you’re looking to add a personalized kitchen accessory or simply enjoy a hands-on embroidery challenge, this tutorial will guide you through every step of the process using the Design Doodler.
Let’s get started on crafting your very own in-the-hoop potato pocket!
Do you want to create this fun project with our tutorial? Download a free demo of the Design Doodler to create your own personalized pouch easily! If you’re new to the Design Doodler or need a quick refresher, check out our Design Doodler Exploring the Basics playlist.
In-The-Hoop Potato Pocket
Materials include:

- Four pieces of 10×10 inch Neutral or “potato brown” cotton fabric
- An old towel cut into two 10×10-inch pieces
- One 10×10 inch piece of contrasting cotton lining material (we would suggest pre-washing)
- Embroidery stabilizer – we used cutaway
- Embroidery thread – please do NOT use metallic thread as it can not be used in high-heat settings
Design Doodler Potato Pocket
Step 1: Open a new workspace in your Design Doodler software. Doodle a potato-shaped outline using a run stitch. We’re using a 10×10-inch hoop and positioned it diagonally to make it larger. (You can make your potato as small or large as you’d like)

Step 2: Doodle your SPUD eyes! We used a fill free-form fill shape and drew them.

Step 3: Insert lettering from the lettering tool. We select the lettering tool, and in the “properties” tab, we edit the text from “TEXT” to “SPUD”. You can grab it and move it in place, and use the rotation arm to align it the way you want.


Step 4: Duplicate the first potato-shaped outline in the running stitch. This line will come last and act as a tack-down line. We chose a double-run stitch for more stability.


Save your design as your required machine file format.
Pretty easy, huh? It is just as easy to stitch this cute spud out!
Embroidering A Potato Pocket
Step 1:We’ll start by hooping a piece of cutaway stabilizer to create the two sides of the back.
Step 2: Cut one of the 10×10-inch towel pieces in half, resulting in two 5×10-inch pieces.
Step 3: On one of the 10×10-inch brown/neutral cotton fabric squares lay the towel piece halfway. Fold over the fabric, and you’ll have a towel piece sandwiched by fabric.
Step 4: Create two of these flaps and set them aside.

Step 5: For the body, hoop a medium-weight cutaway stabilizer.
Step 6: FLIP the hoop over and secure the lining material on the back of the hoop using temporary spray and tape if needed.
Step 7: Lightly spray with a temporary spray and place the remaining 10×10 inch towel piece on it.

Step 8: Place a square of the neutral/brown material in the hoop over the towel piece (the hoop is still upside down).
Step 9: Insert into the machine and stitch through all but the last tack down line.

Step 10: Remove your hoop from the machine and lay the two back flaps diagonally over the stitching surface (these will be your opening pockets).

Step 11: Return your hoop to the machine and finish the stitching line.

Step 12: Remove from the hoop and trim to ¼ inch.

Step 13: Turn the pocket inside out and press to flatten

You’re done!

To use your new potato project, slightly wet it under running water and insert a potato that has been pierced a couple of times with a fork. Microwave for 10-12 minutes, flipping once, until soft and easily pierced with a fork or knife.
Do not leave your potato pocket unattended in the microwave.
P.S. You can turn your doodles into stitches without digitizing skills and create other fun embroidery projects with the Design Doodler.

Leave A Comment